![]()
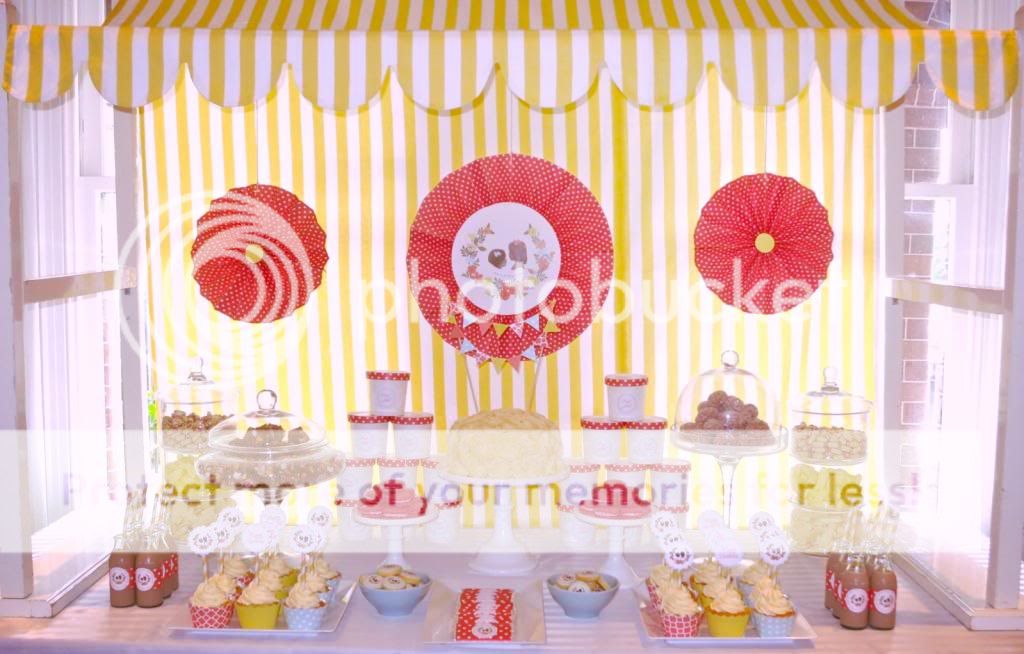
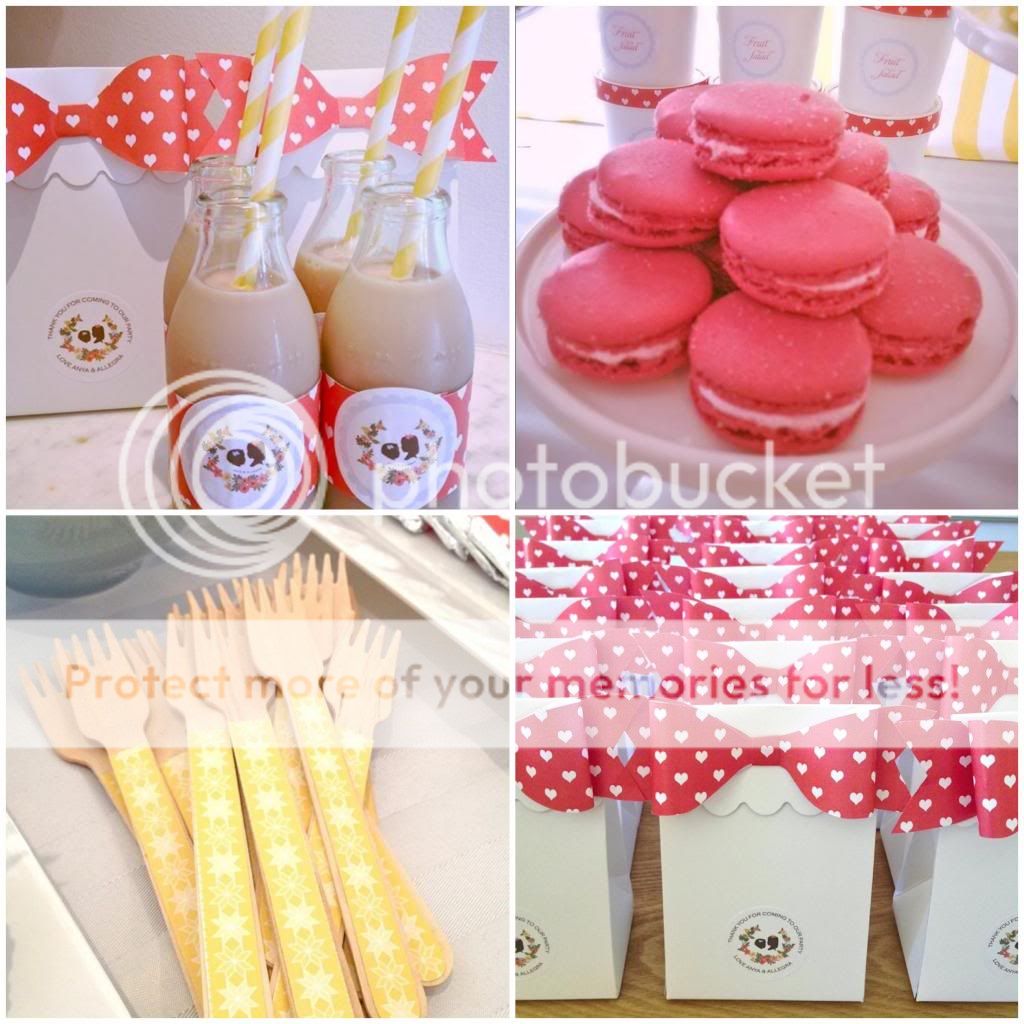
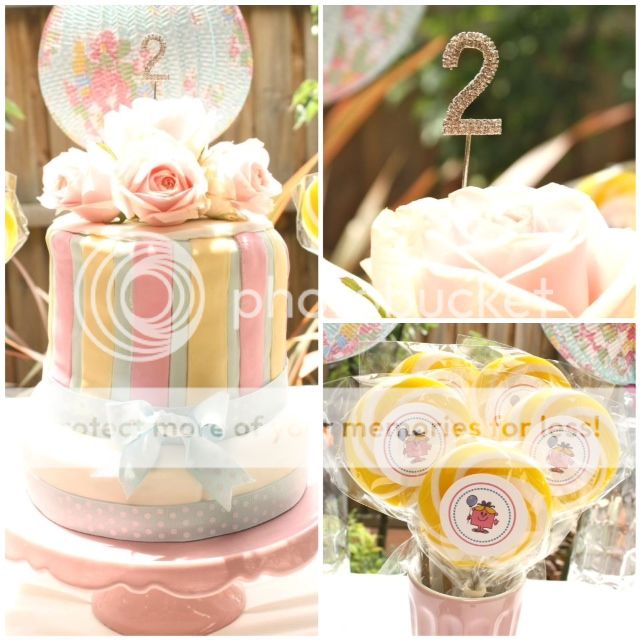
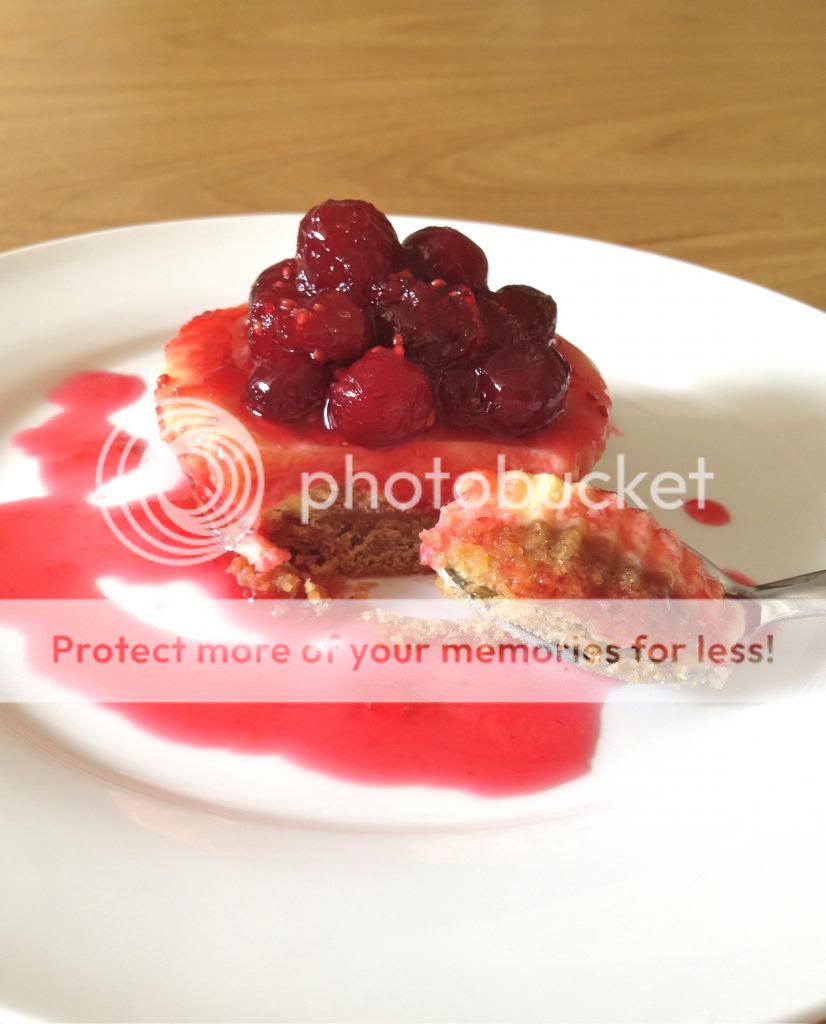
Described last week as 'the most delicious cake I have ever eaten' by one of Mr B's colleagues, I thought it would only be fair that I share with you my recipe for a Chocolate Mudcake that is guaranteed to turn out delicious and moist EVERY time. After Allegra put in her special request, I whipped up this baby last Monday on the eve of her 3rd Birthday. I then used off-cuts from the girl's wrapping paper and left over straws from the party to make the cake bunting.
PLEASE NOTE: I halved the below recipe (which is designed to make a 23cm cake) as I wanted a smaller but taller cake so I used a 15cm tin instead. Also, if your cake is a little higher it may take slightly longer to bake so once you get to the 1 hour and 15 minute mark, test it every 5 minutes there after until the skewer comes out relatively clean... don't panic if the mixture still appears gooey as it will set more once cooled. This cake is suppose to be super dense so is pretty forgiving if you do go a few minutes over the suggested baking time. Happy Baking my friends :)
Fool-proof Chocolate Mudcake with Chocolate Buttercream IcingIngredients
250g chocolate (I use 100g dark chocolate and 150g milk chocolate)
250g salted butter
3/4 cup water
2 cups plain flour
1/4 cup cocoa powder
1/2 teaspoon bicarbonate of soda
2 1/2 cups caster sugar
4 large eggs
2 tablespoons vegetable oil
1 teaspoon vanilla extract
1/2 cup buttermilk (if you can’t find butter milk, simply add 1 tablespoon of lemon juice to your ½ cup of milk)
Chocolate Buttercream Icing250g butter, softened
2 cups pure icing sugar, sifted
½ cup cocoa powder, sifted
1 tablespoons milk
Method
- Preheat oven to 150°c for fan-forced oven, or 160°c if not fan-forced.
- Grease and line a 23cm cake tin.
- Place 250g chocolate, butter, and water in a large saucepan over low heat, stirring occasionally.
- Once chocolate and butter have melted, remove mixture from heat and allow to cool to room temperature.
- Sift the flour, cocoa powder and bicarbonate of soda together into a very large bowl.
- Add the caster sugar to the bowl with the flour mixture, and stir the ingredients together until well combined.
- In a medium bowl, place eggs, oil, vanilla and buttermilk and whisk until well combined.
- Add the egg mixture to the flour mixture and stir until well combined.
- Add the chocolate mixture to the egg and flour mixture in a three batches, stirring until combined after each addition.
- Pour mixture into prepared patty cases.
- Bake for about 1 hour and 15 minutes or until cooked when tested with a skewer.
- Important note: This cake is designed to be super moist so if the skewer comes out clean or with moist crumbs (not gooey batter) attached, the cake is ready. If not, return to the oven and bake for a further 5 minutes before testing again.
- Once cooked through, remove cake from the oven, and allow to sit for at least 10 minutes before turning out on a cooling rack. Tip: I always cover my baked goods with a clean tea towel and allow to cool. This helps prevent it drying out.
Chocolate Buttercream Icing- Place the butter in the bowl of an electric mixer and beat for 6–8 minutes or until pale and creamy.
- Add the icing sugar mixture, cocoa powder and milk and beat for a further 6 minutes or until light and creamy.
- Pipe the icing onto the cake as you please.
- Enjoy!
![]()
![]()


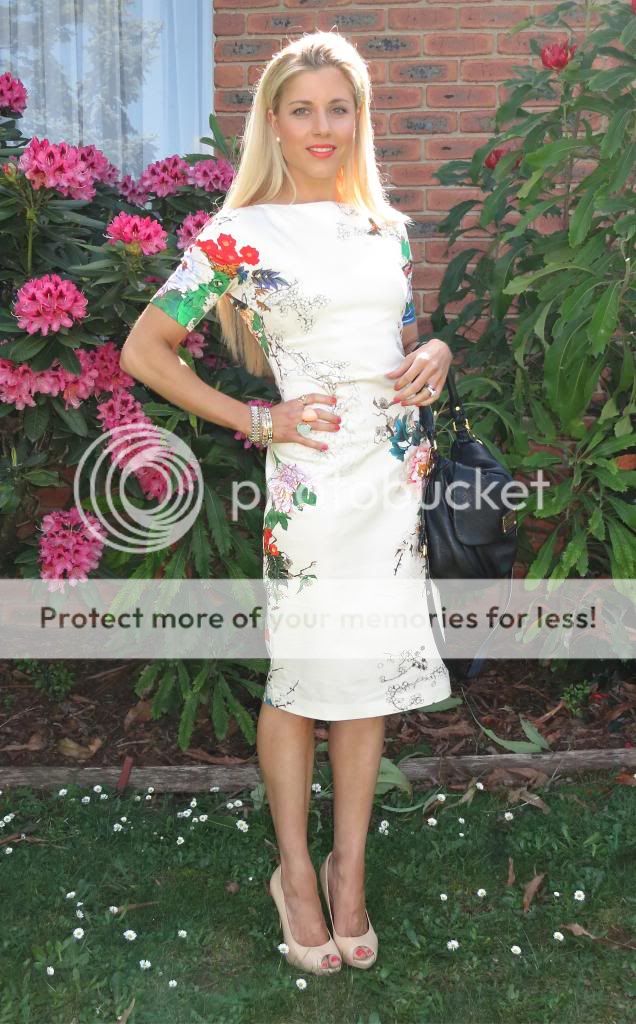


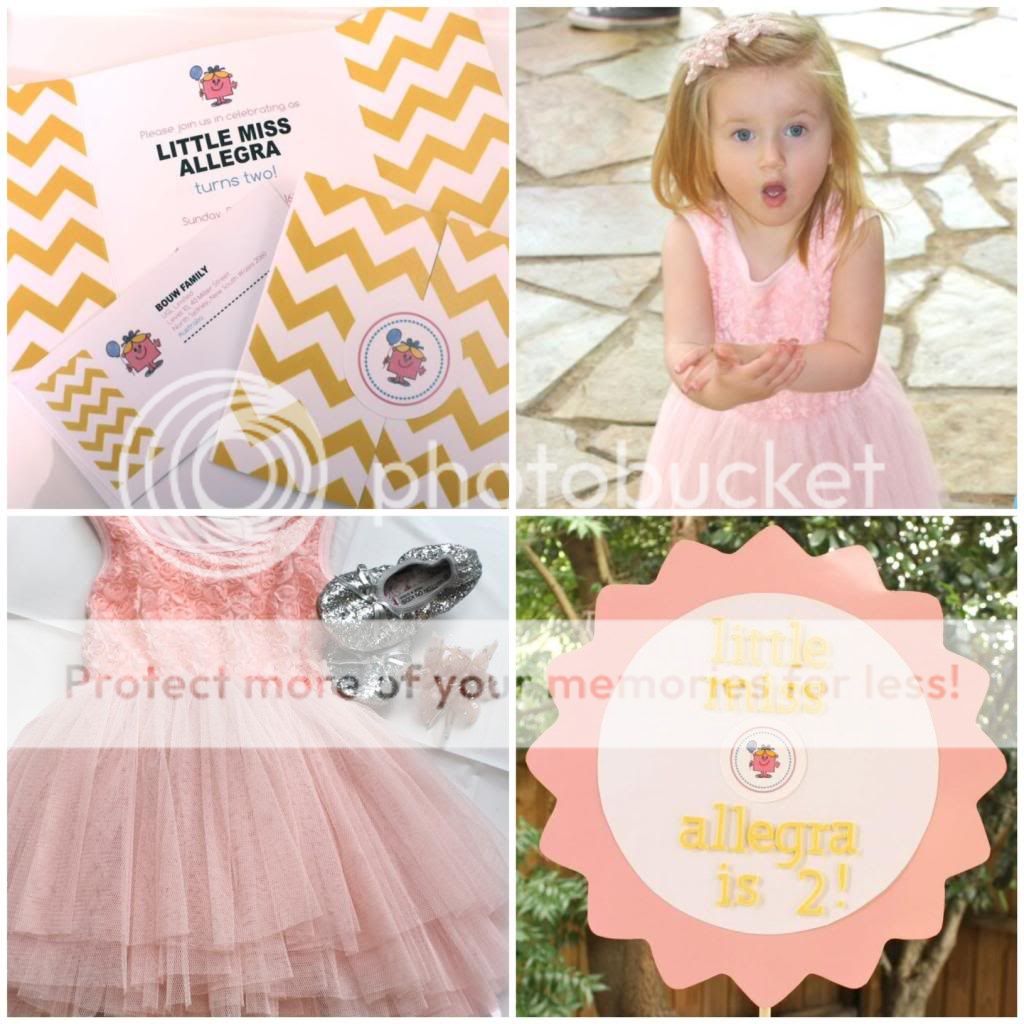


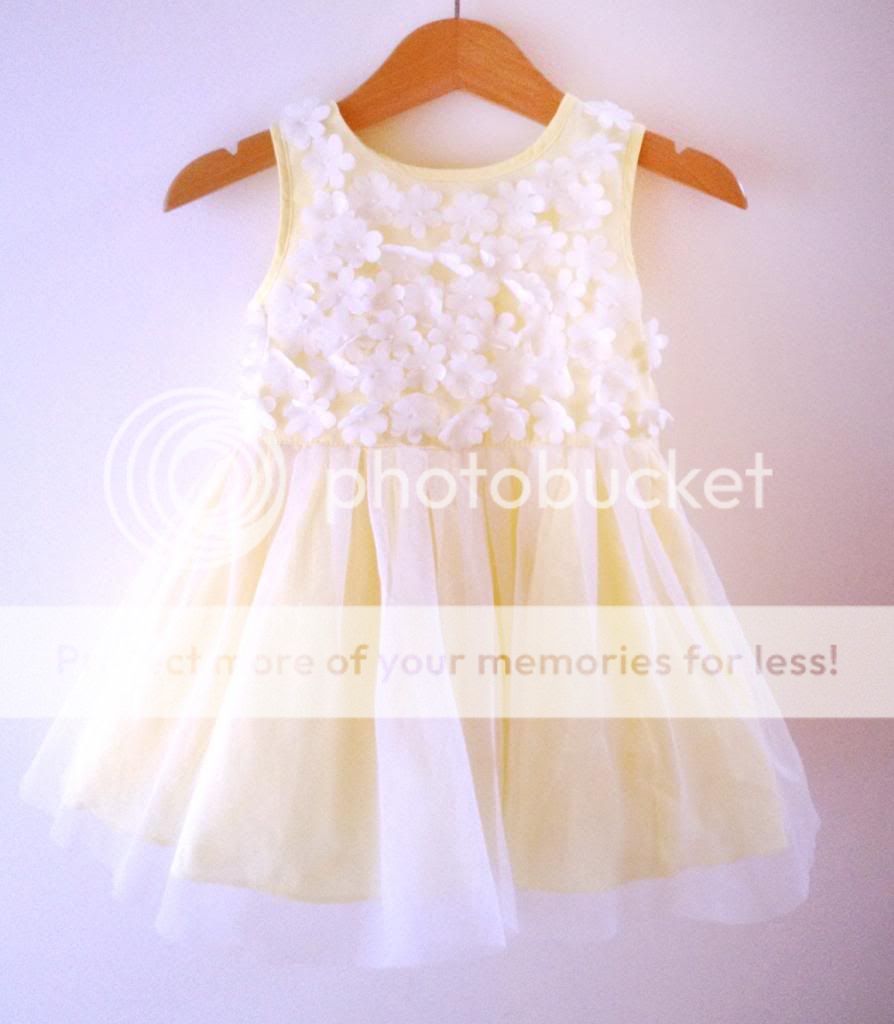
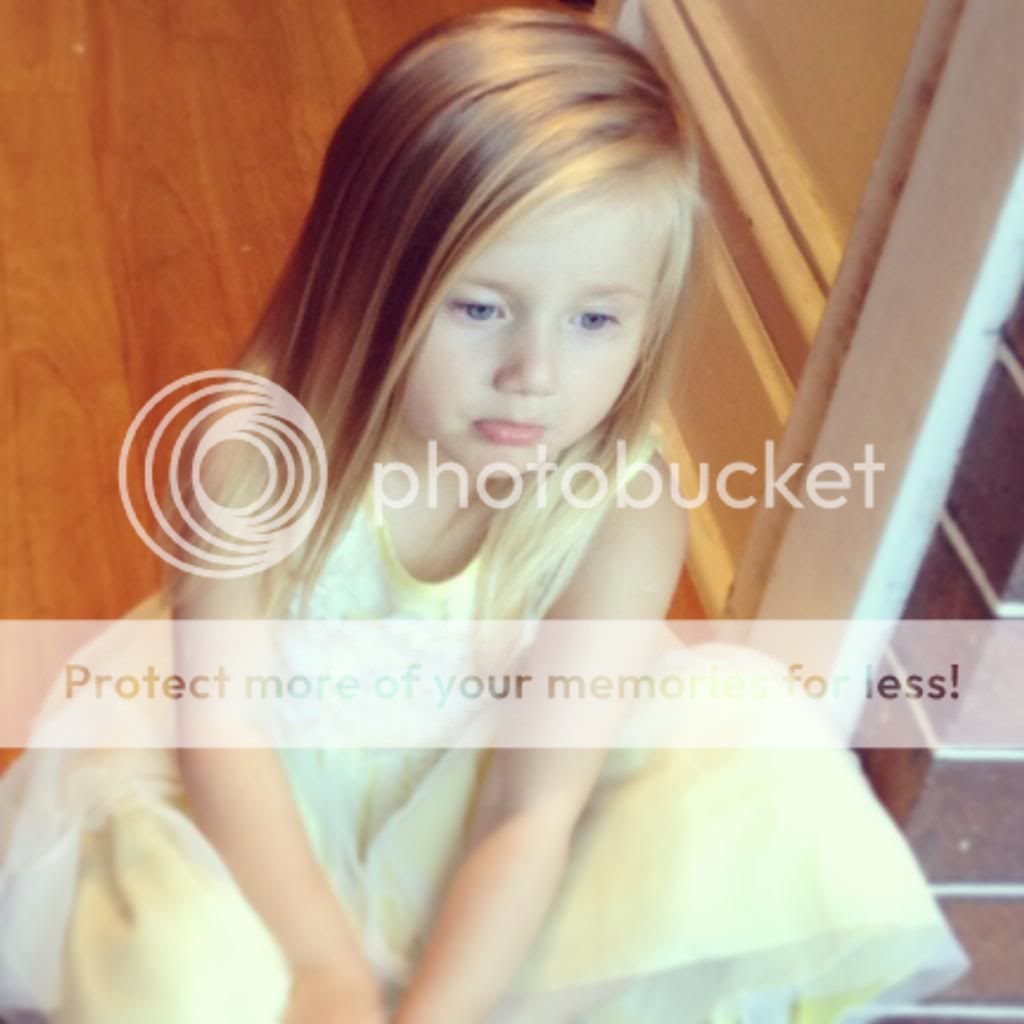
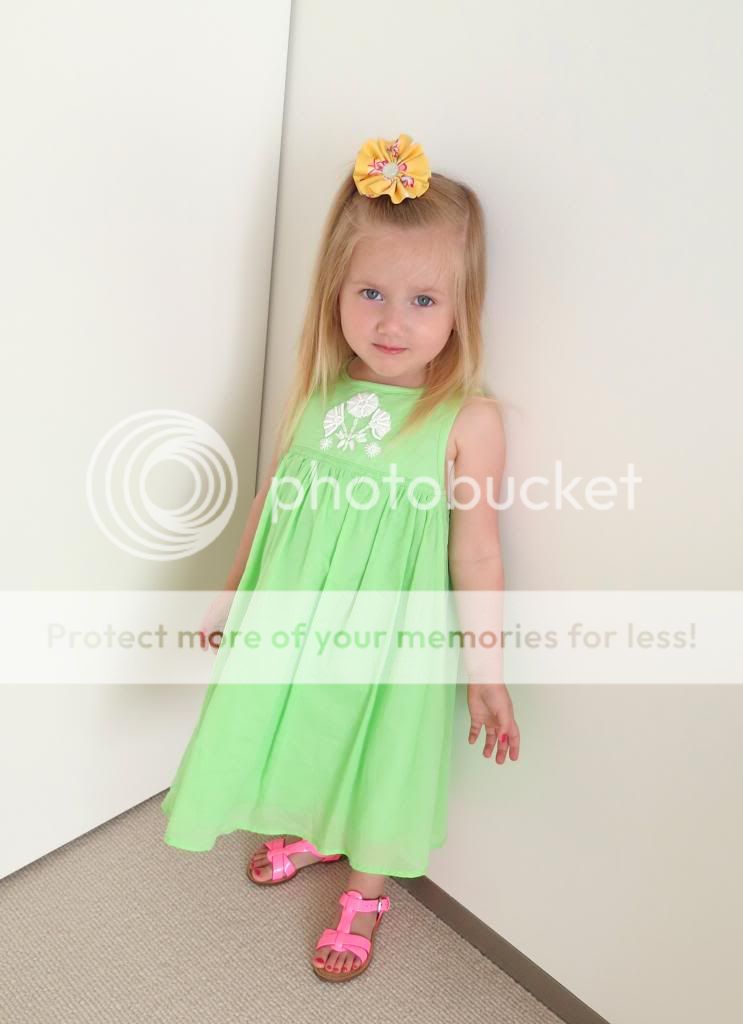
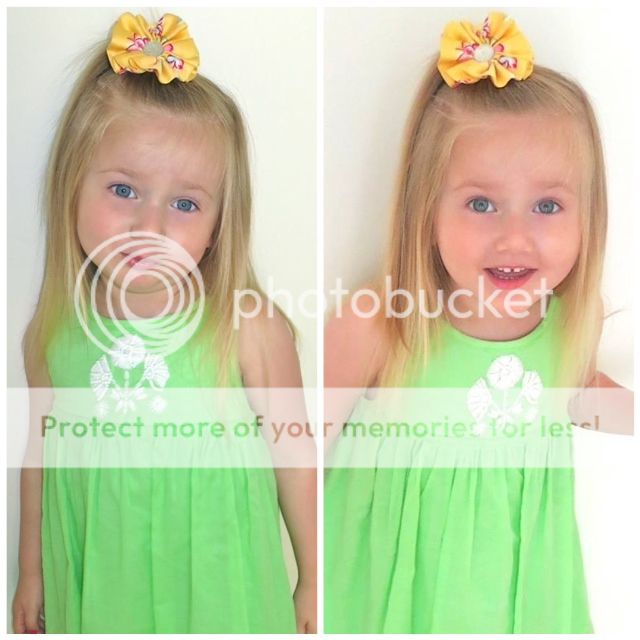
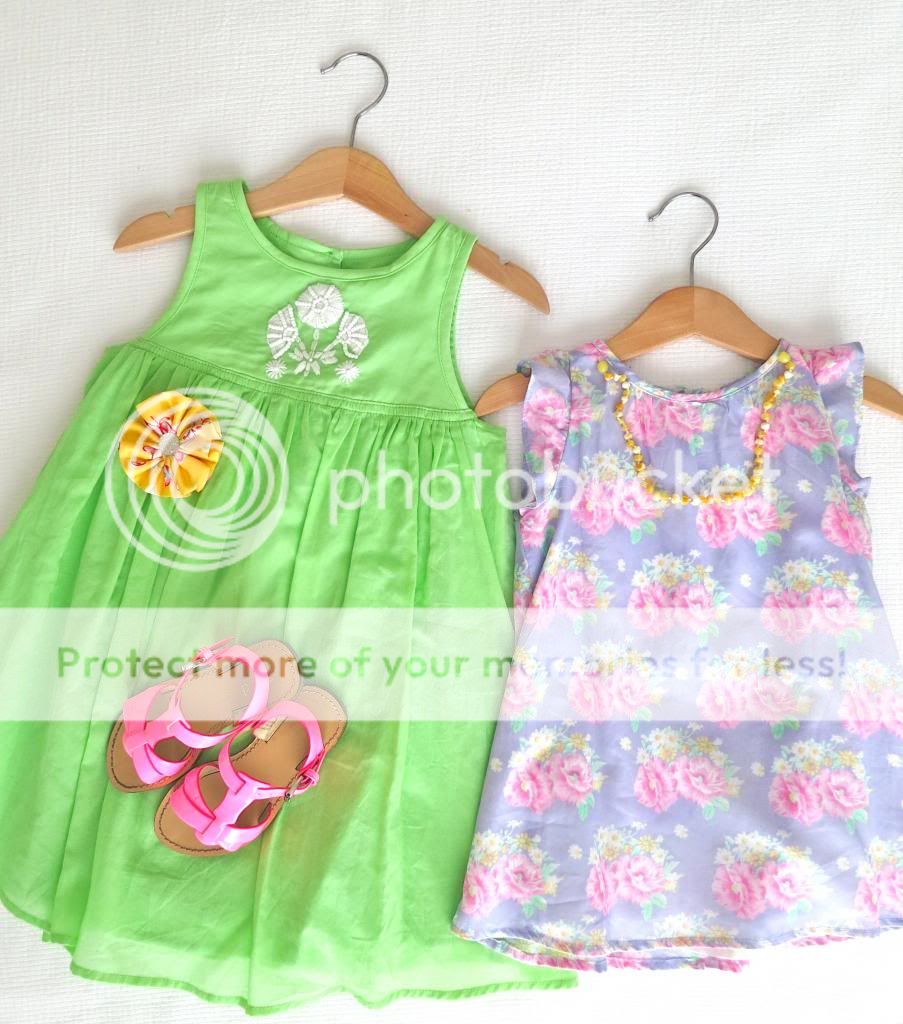
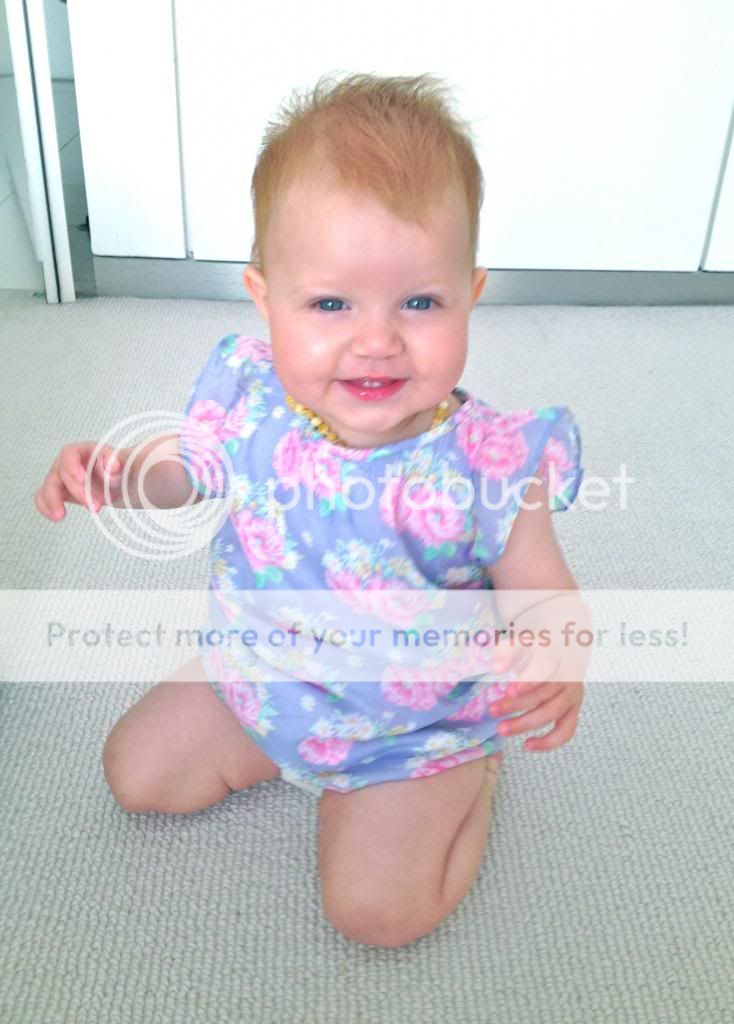
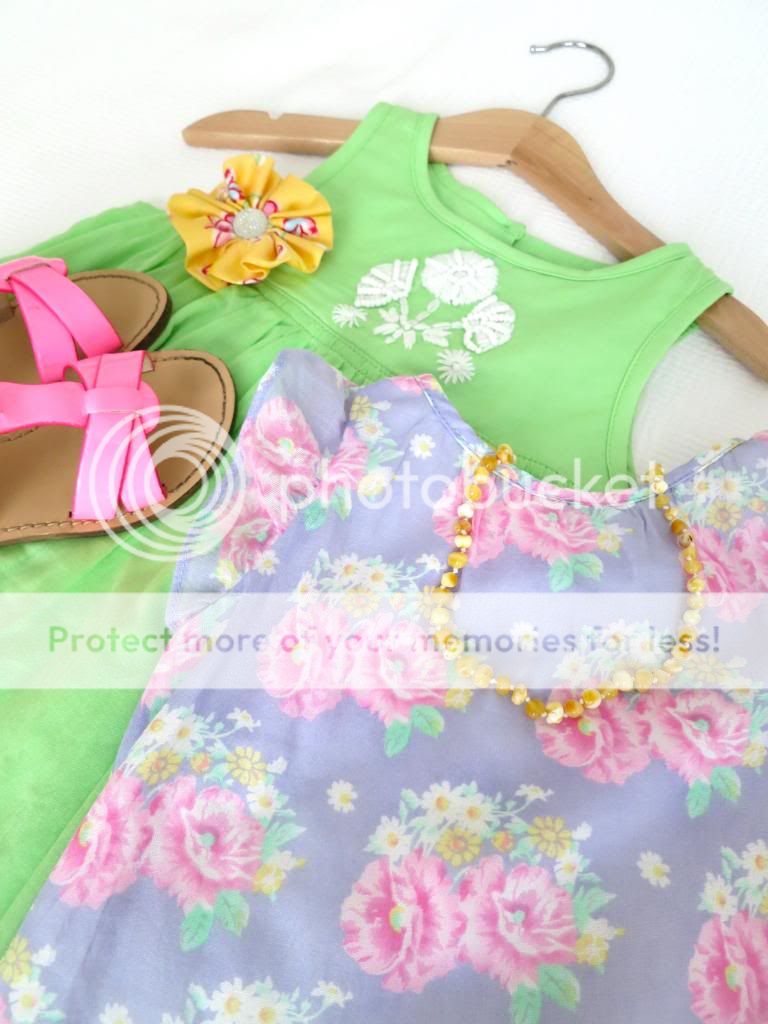
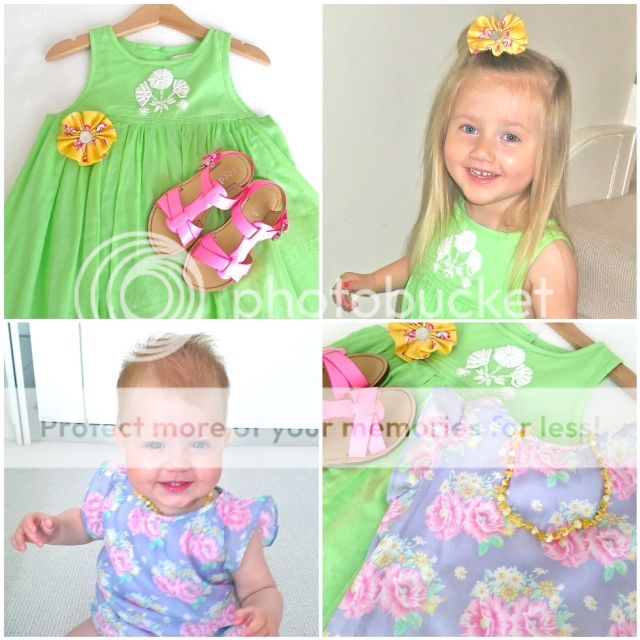
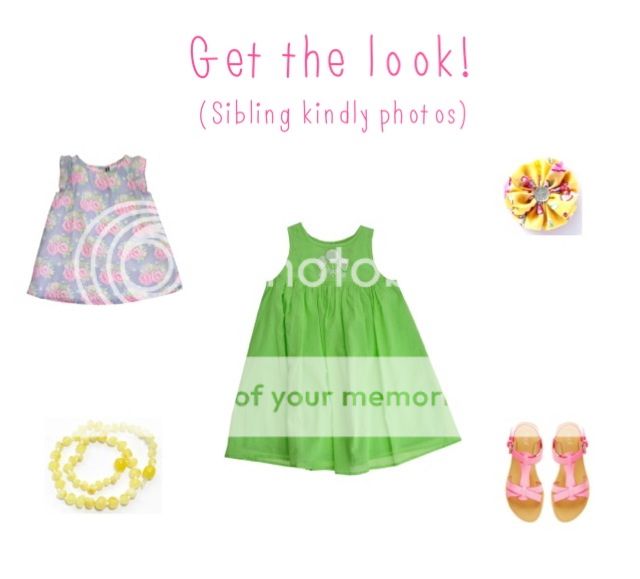 Today Allegra had her first ever school photos taken! Late last week when the teachers asked me if I wanted some sibling photos taken aswell, of course I replied with a big fat yes... but then realised that it didn't leave me much time to find the girls an outfit each. As a busy Mum of two, I generally browse the net before hitting the shops so I have a rough idea of what I am looking for. Last weekend Allegra spied me on the iPad and wandered on over to see what I was looking at. When she discovered I was on the hunt for a new dress for her photos, she picked up the iPad, ran her eyes over the images, pointed at the screen and exclaimed 'THAT one Mum!' I looked at her choice and slowly replied 'That one? The green one? Are you sure? It's VERY green darling... how about this pink one or that floral one?!' To which she replied 'No Mum, I would like the green one please. That's the dress I want to wear for my photos!'. Well, how could I argue with that! My girl knows what she wants and her eye for clothing hasn't failed her (or me!) in the past so the green dress it was! As for Anya, well I wanted the girls dresses to compliment each other without being too matchy-matchy so I thought this vintage floral dress (from the same brand) was just the perfect outfit for a little sister :) When I went to collect Allegra from school today I asked how the photos went and they gave me a sticky beak at the group shot... AND guess who was sitting front and centre standing out like a bright shining star?! My darling Allegra in her VERY green dress! Oh and of course my little Narnie Bananie looked at sweet as pie... love my girls!!! See for yourself :)
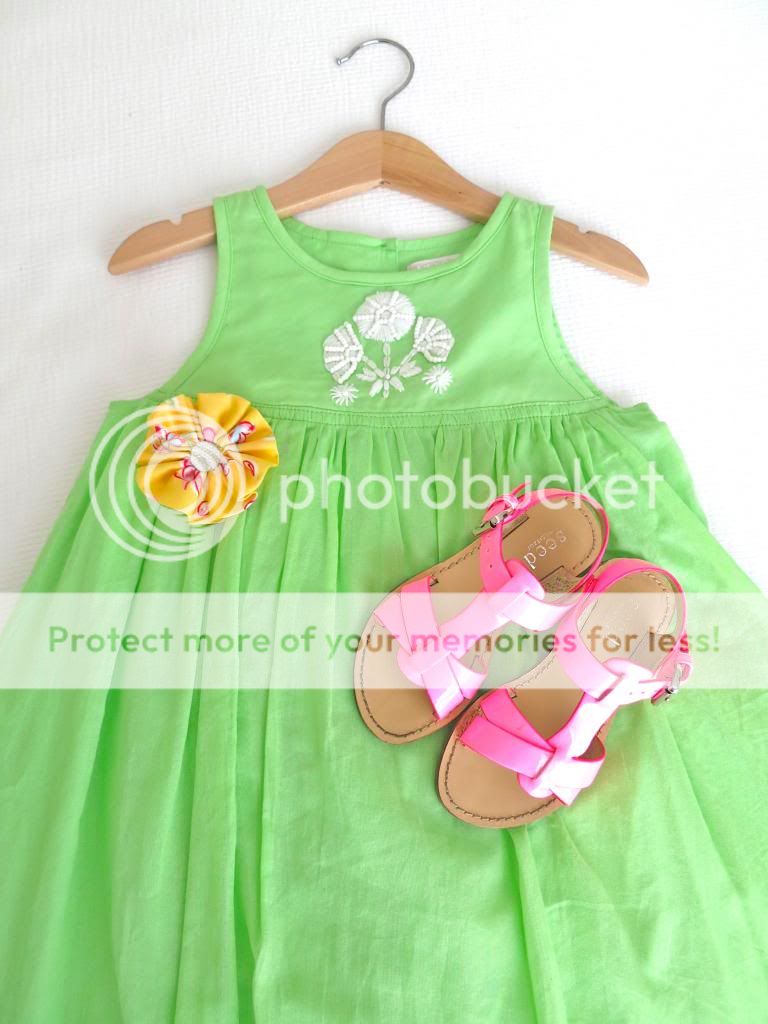


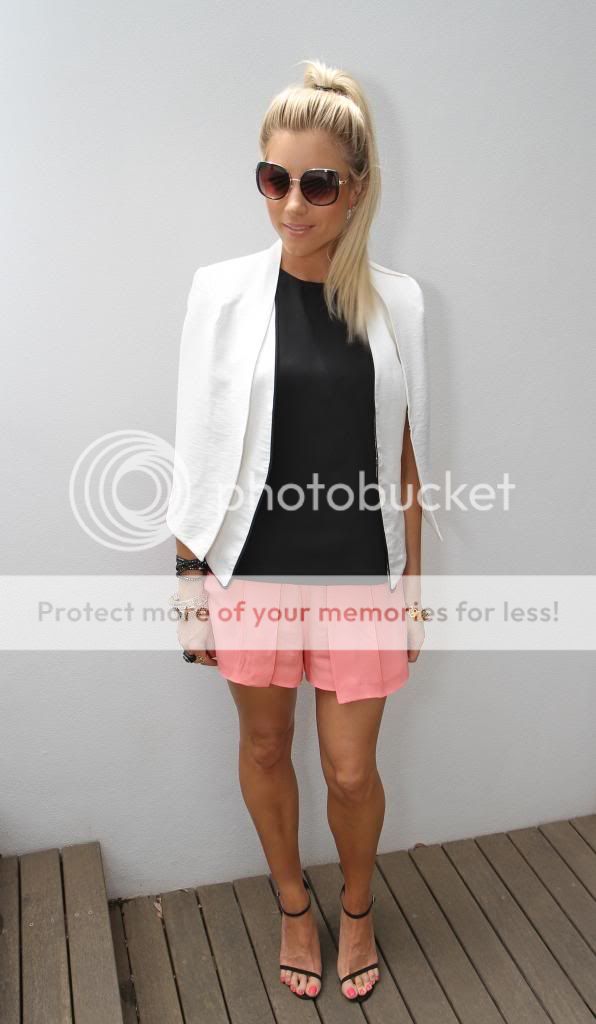
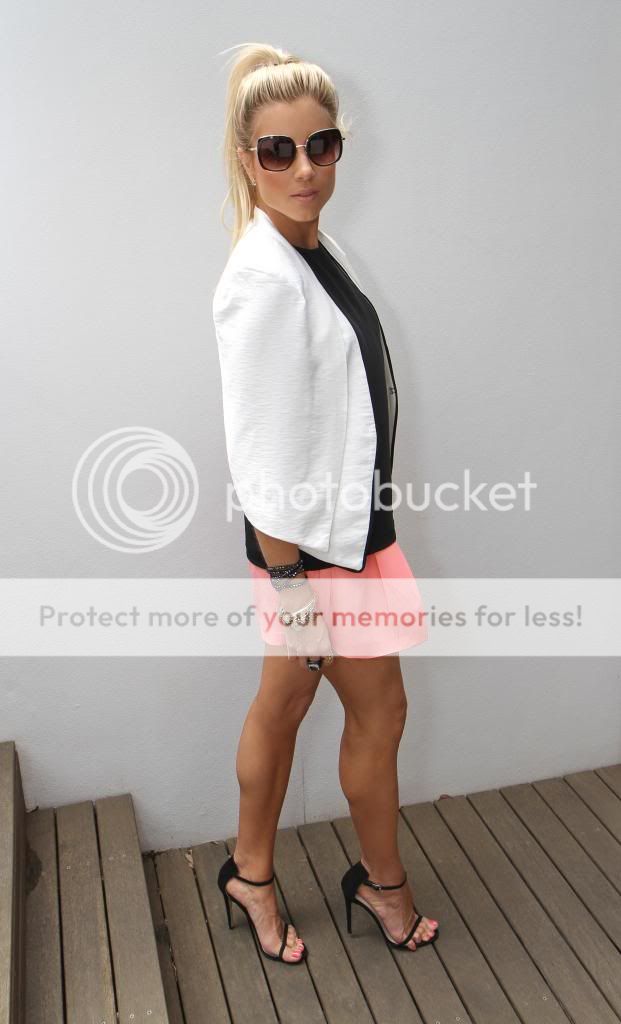
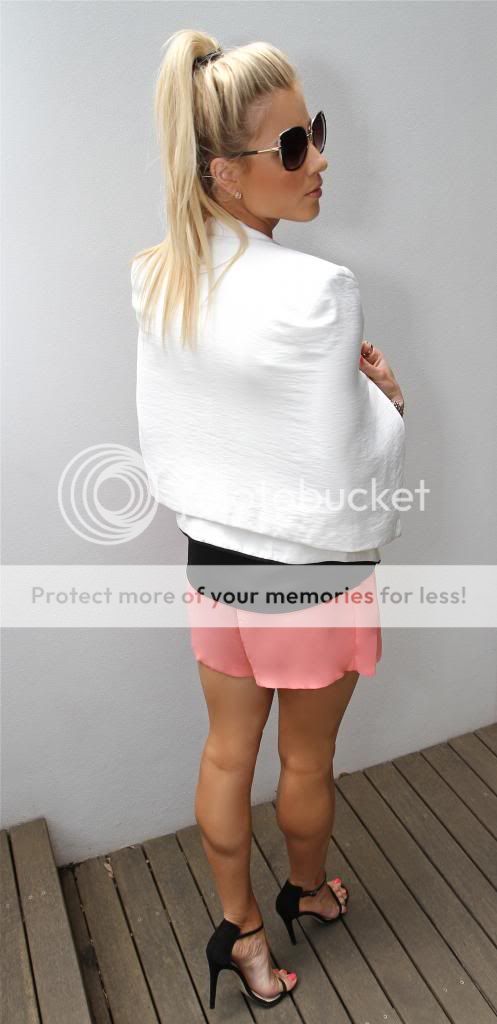
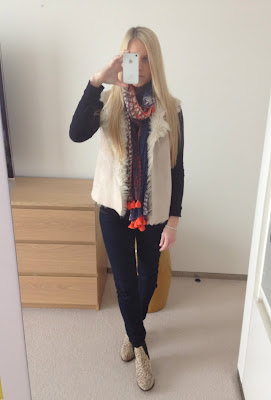
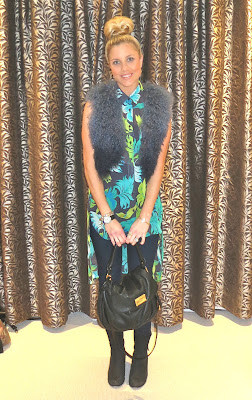
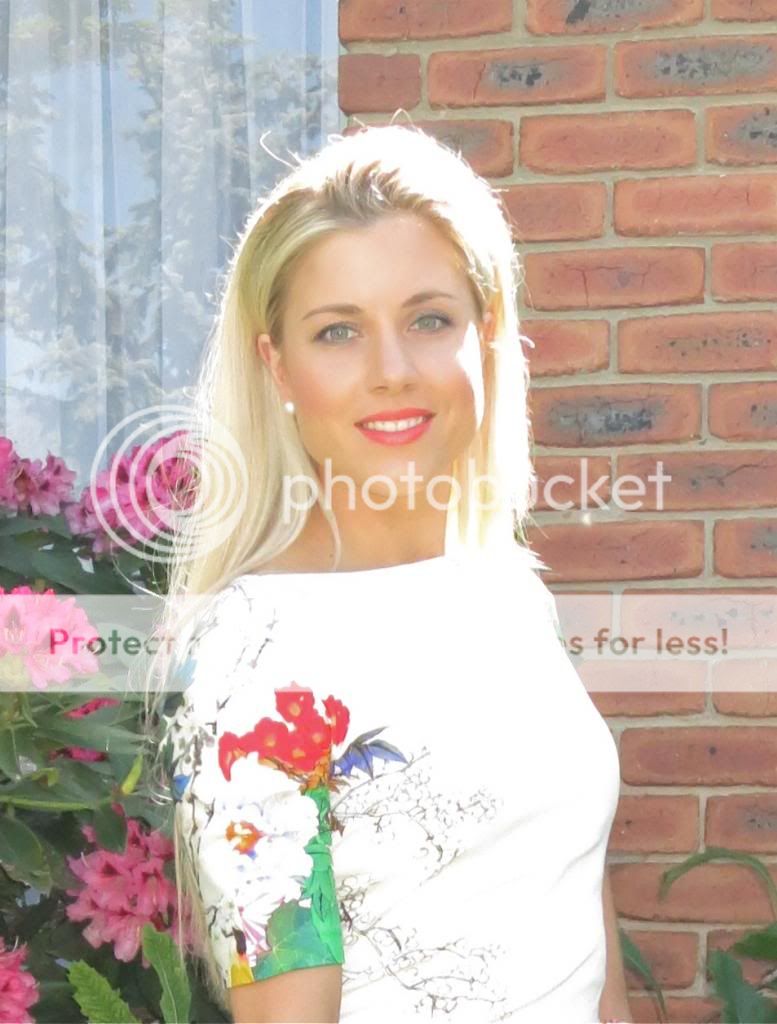
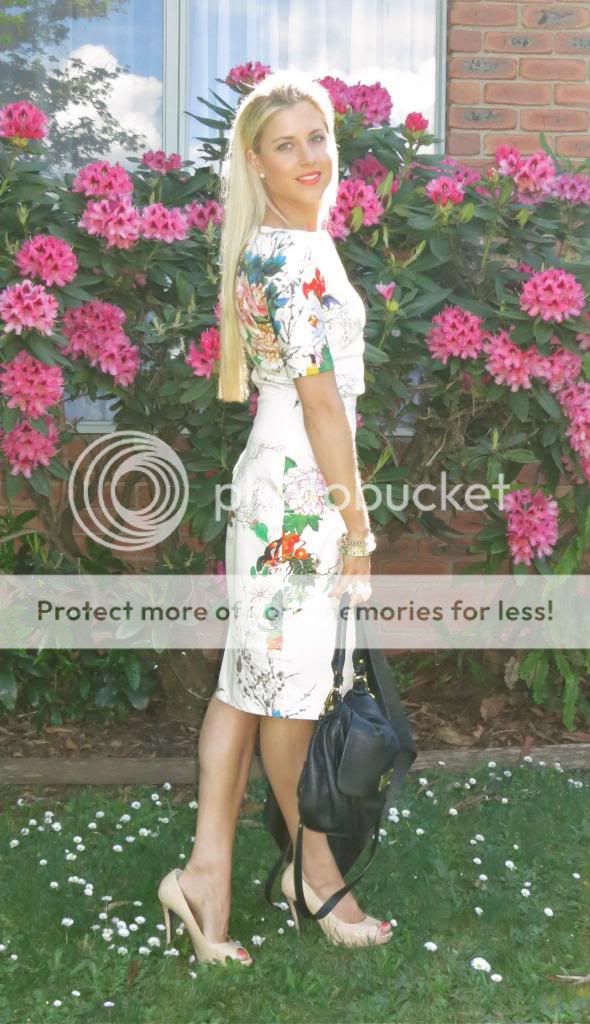
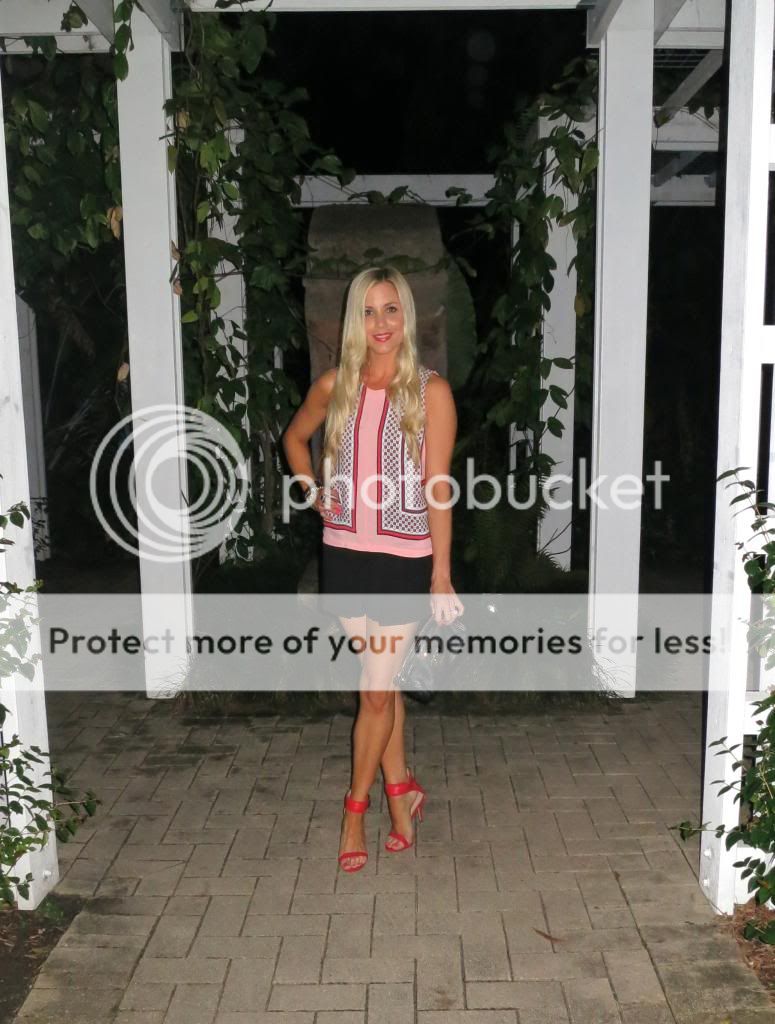
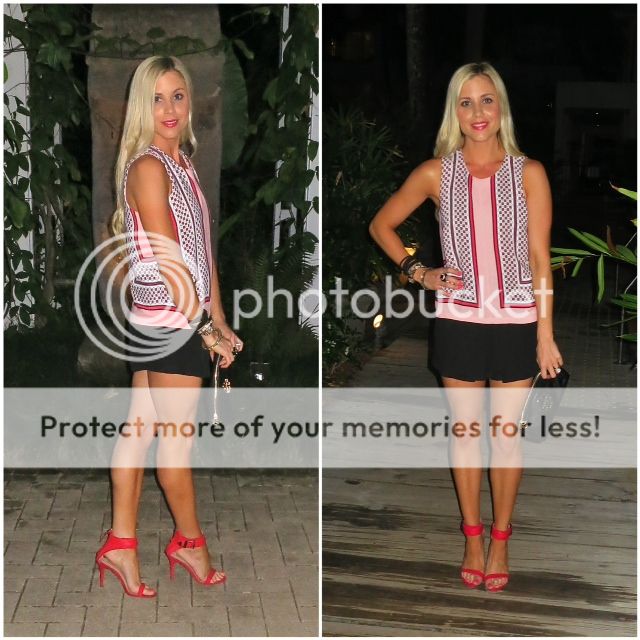
 This week, for the first time in about a year and a half, I dared to bare my legs. During my second pregnancy I had some really awful veins come up leaving me too self conscious to wear above the knee skirts, shorts or dresses. I know there may be some who think this is vain (pardon the pun) but combined with the many changes our bodies go through when baring children, I just couldn't bare the thought of looking at them let alone letting others see them. I wouldn't even wear shorts around the house. Silly I know but we all have our own hangs ups don't we?! One cannot undergo treatment whilst pregnant or breastfeeding so it was only eight weeks ago that I was finally able to have them tended too. I was informed they get a lot worse before they get better (the treatment clots the veins and leaves them very bruised and lumpy) and I was warned it could take up to six months to heal completely. I still have mild bruising and a few little lumps BUT here I am just eight weeks later feeling very free in my new skorts! :)
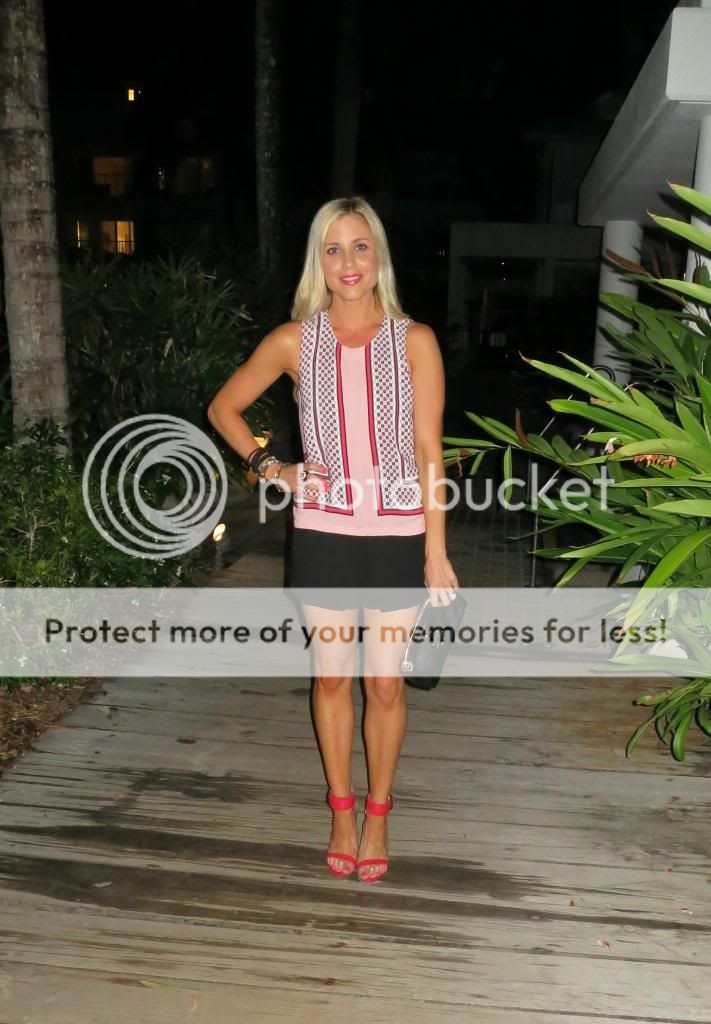


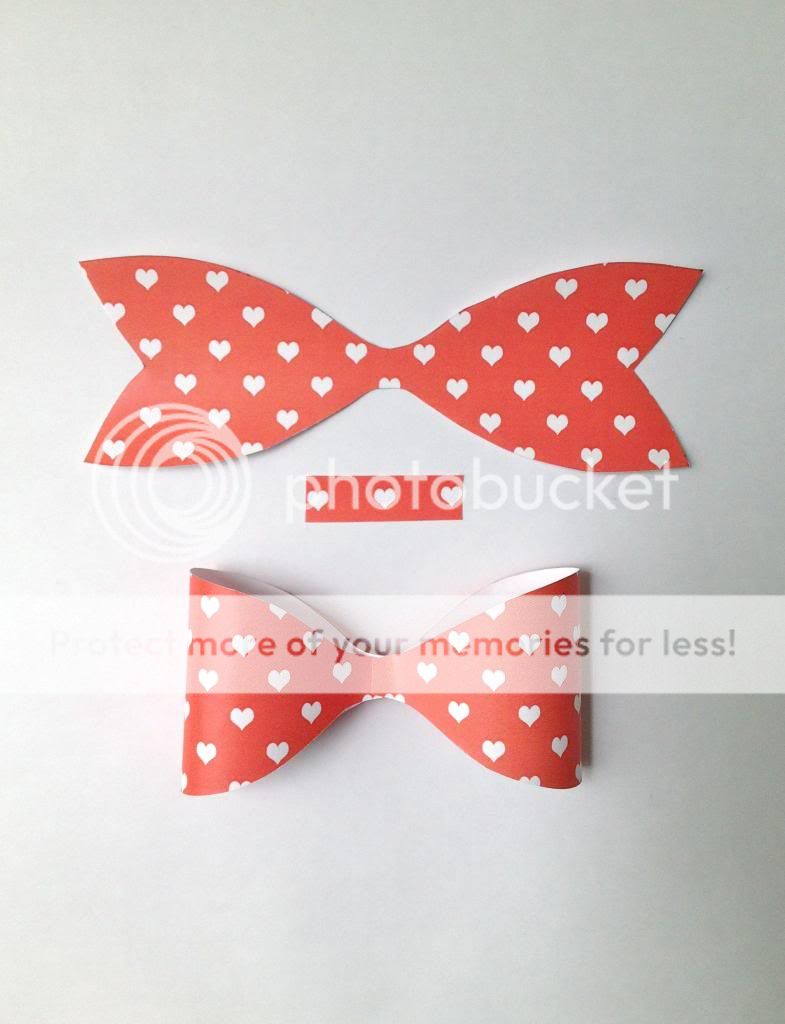


 So simple yet so affective right?! Now to make some for Christmas :) Enjoy! x